Easy Stateful Workloads with Azure Container Storage
Nowadays, companies are moving from virtual machines to containers to manage and grow their applications more efficiently. Microsoft leads this change. For example, with the launch of Azure Container Storage, the first container-native storage service managed by a platform and available in the public cloud. This new service is made to meet the needs for scalable, flexible, and cost-effective solutions for containers that need to store data. By working closely with Kubernetes, Azure Container Storage makes managing storage simpler, allowing developers to focus on creating new applications instead of dealing with infrastructure.
What is Azure Container Storage?
Azure Container Storage is a new storage service from Microsoft, designed specifically to support stateful container workloads within Azure Kubernetes Service (AKS). As the first platform-managed container-native storage service, it allows users to handle storage operations directly through Kubernetes APIs. This makes it easier to deploy and manage applications that need to store data, without dealing with the underlying infrastructure’s control plane APIs.
Azure Container Storage is deeply integrated with Kubernetes, and supports various storage options like Ephemeral Disks, Azure Disks, and Azure Elastic SAN. This makes it easy to create and manage persistent volumes with advanced features such as snapshots and autoscaling. By supporting ephemeral disks, it provides high-performance, low-latency storage solutions for tasks that need quick access to data, marking a big improvement in cloud-native storage.
Azure Container Storage not only improves performance and scalability but also ensures strong resilience and security. It offers options for zone-redundant and multi-zone storage pools, ensuring high availability and protection against zonal failures. Security is enhanced with default server-side encryption using platform-managed keys, along with more options for extra security measures.
How Azure Container Storage Enhances Cloud Scalability, Flexibility, and Cost-Efficiency
Azure Container Storage offers a cloud-native solution for managing stateful applications. By integrating with Kubernetes, it provides a unified and streamlined approach to volume management. This integration allows you to perform all storage operations directly through Kubernetes APIs, simplifying the deployment and scaling of persistent volumes. The service also supports advanced features like snapshots and autoscaling, enhancing both efficiency and performance.
Azure Container Storage enables rapid scaling of stateful pods by mounting persistent volumes over network block storage protocols like NVMe-oF and iSCSI. This ensures fast attach and detach times, allowing applications to scale smoothly without disruptions. By supporting rapid pod respawns and leveraging remote network protocols, Azure Container Storage provides highly resilient and scalable stateful applications on AKS.
The service supports multiple storage types, allowing you to choose the best option for your workload. Whether you need the low latency of Ephemeral Disks or the robust performance of Azure Disks, Azure Container Storage adapts to your needs. Additionally, by offering Kubernetes-native volume orchestration, it simplifies storage management, making it easy to deploy and manage volumes using familiar Kubernetes tools.
Azure Container Storage reduces the total cost of ownership by allowing for dynamic sharing of storage resources, minimizing the need for over-provisioning. This means you can scale up storage as needed without incurring additional costs. Furthermore, the service’s integration with Kubernetes ensures efficient volume management, reducing operational overhead and allowing you to focus on optimizing your applications.
Getting Started with Azure Container Storage
Let’s take a closer look at Azure Container Storage by installing it on an Azure Kubernetes Service (AKS) cluster.
Prerequisites
Before diving into the next steps, ensure you have the following prerequisites in place:
- Azure Subscription with Owner Permissions: You’ll need an active Azure subscription with Owner permissions to create and manage resources in Azure Kubernetes Service (AKS).
- Azure CLI: Install Azure CLI for interacting with Azure services from the command line. You can install Azure CLI by following the instructions at Microsoft’s official documentation.
- Kubectl and Kubectl Login: Ensure kubectl is installed no your system, along with kubelogin to log in to Azure Kubernetes Service (AKS) using Entra ID credentials. You can install kubectl and kubelogin by following the instructions in this documentation.
- Terraform (optional): Install Terraform for provisioning the AKS cluster if you haven’t already. Follow the Terraform installation guide if needed.
- Visual Studio Code (optional): Have Visual Studio Code installed on your system for editing files and managing your project. You can download Visual Studio Code from here.
Create the AKS Cluster (optional)
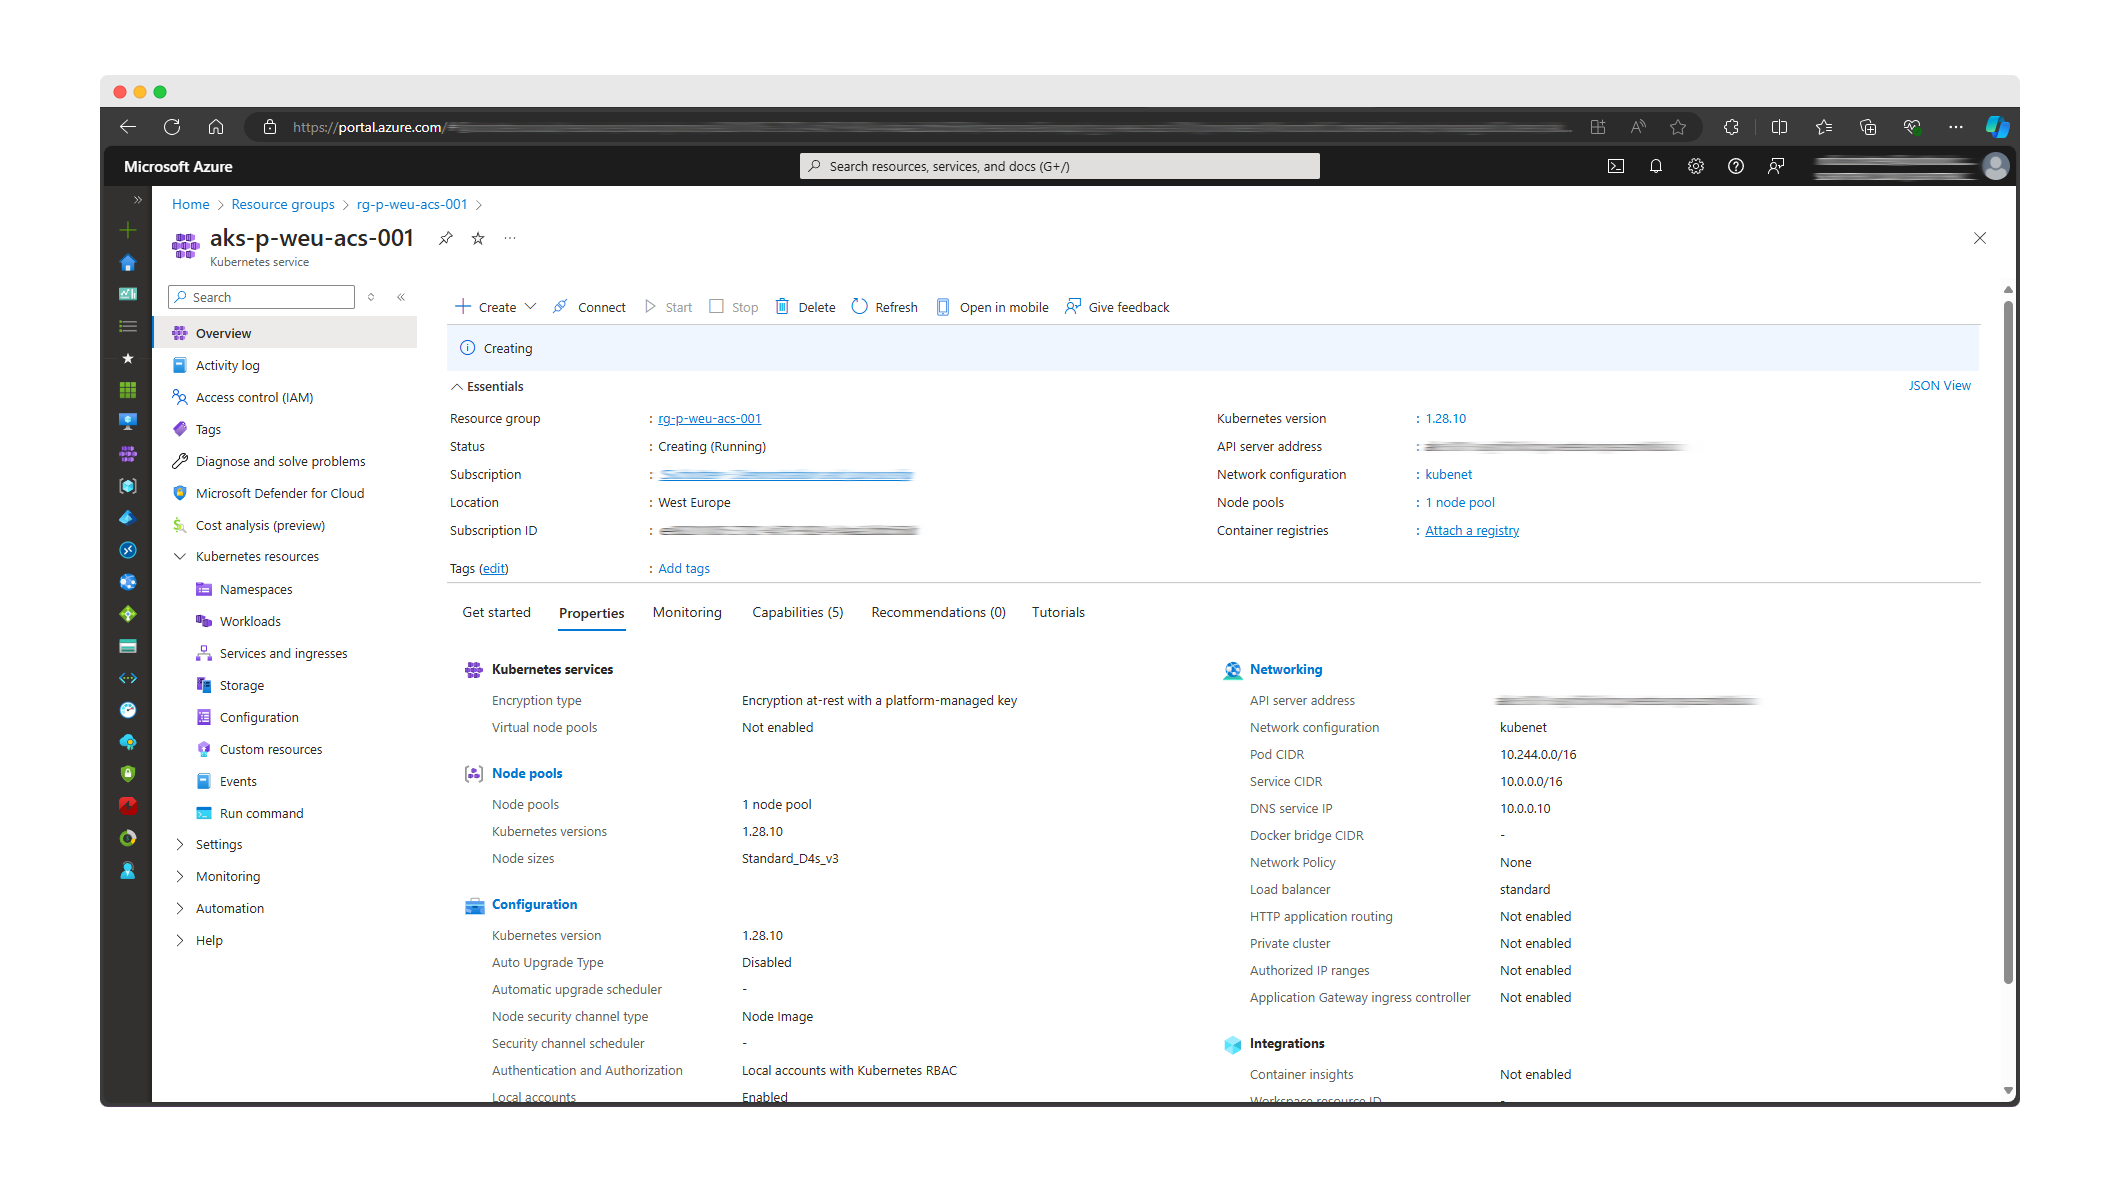
If you don’t have an AKS cluster ready yet, follow the steps below to deploy your AKS cluster using Terraform. If you do have an AKS cluster ready, skip the first three steps of this guide.
Step 1: Set up your Terraform configuration by creating a new directory for your Terraform configuration and navigate into it, using the command below:
mkdir aks-container-storage && cd aks-container-storageStep 2: Create a main.tf file with the content below. This sets up a basic AKS cluster in Azure with one default node pool and an additional node pool.
provider "azurerm" {
  features {}
}

resource "azurerm_resource_group" "aks" {
  name     = "rg-p-weu-acs-001" // Adjust to your liking
  location = "westeurope" // Adjust to your liking
}

resource "azurerm_kubernetes_cluster" "aks" {
  name                = "aks-p-weu-acs-001" // Adjust to your liking
  location            = azurerm_resource_group.aks.location
  resource_group_name = azurerm_resource_group.aks.name
  dns_prefix          = "aks-001" // Adjust to your liking

  default_node_pool {
    name       = "default"
    node_count = 3
    vm_size    = "Standard_D4s_v3"
  }

  identity {
    type = "SystemAssigned"
  }
}

resource "azurerm_kubernetes_cluster_node_pool" "aks" {
  name                  = "internal"
  kubernetes_cluster_id = azurerm_kubernetes_cluster.aks.id
  vm_size               = "Standard_D4s_v3"
  node_count            = 3
}

output "kube_config" {
  value = azurerm_kubernetes_cluster.aks.kube_config_raw
  sensitive = true
}
Step 3: Initialize and apply the Terraform configuration, by using the terraform init and terraform apply commands. This will create a resource group, an AKS cluster, and a node pool.

Install Azure Container Storage
Step 4: First, we’ll need to configure Azure CLI and kubectl. Run the command below in your terminal to login to Azure, and set your Azure subscription context:
az login
az account set --subscription <subscription-id>
Step 5: Next, we’ll need to retrieve the credentials for your AKS cluster. Run the command below to get the credentials, but make sure to adjust the parameters to your specific resources.
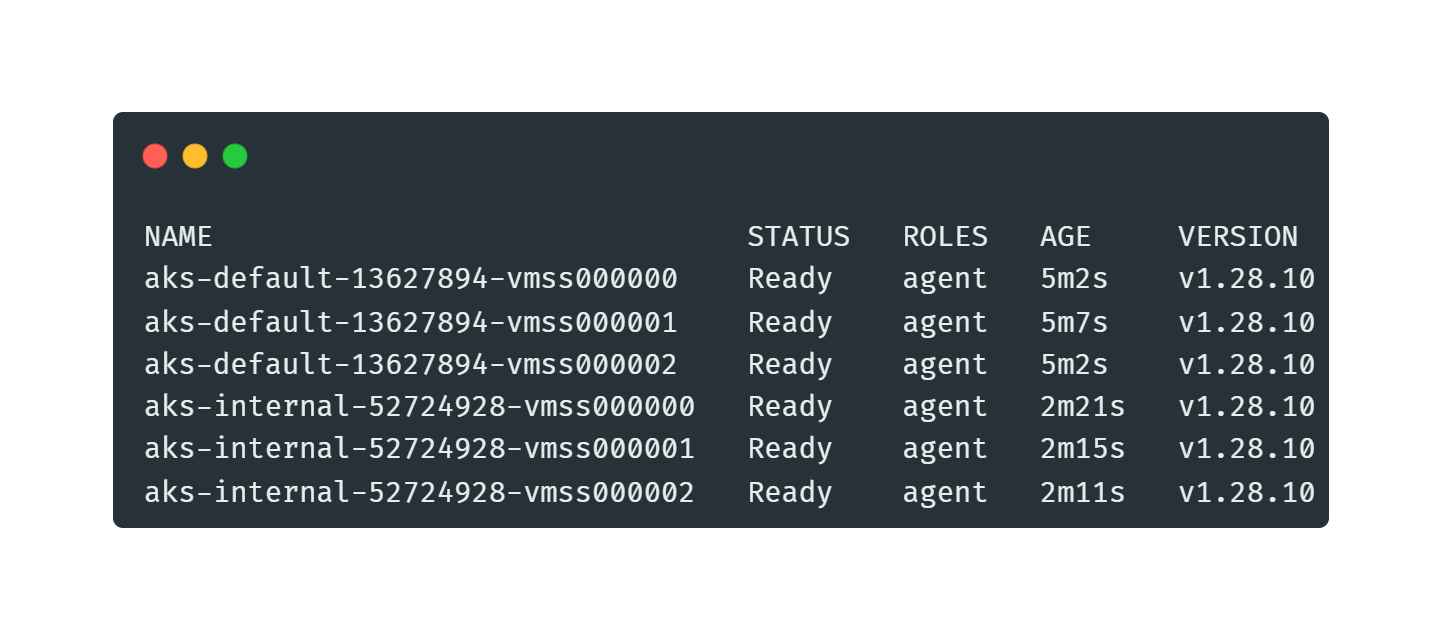
az aks get-credentials --resource-group rg-p-weu-acs-001 --name aks-p-weu-acs-001After, you can verify the connection to your cluster by running the kubectl get nodes command. It should show similar output like the image below.

Step 6: Start by adding or upgrading to the latest version of the k8s-extension. You can do this by running the command below in your terminal.
az extension add --upgrade --name k8s-extensionStep 7: We can now update the AKS cluster to enable Azure Container Storage. By running the command below, we’ll install Azure Container Storage on the AKS cluster and create a storage pool using Azure Disks. Make sure you adjust the parameters to your specific resources.
az aks update -n aks-p-weu-acs-001 -g rg-p-weu-acs-001 --enable-azure-container-storage azureDisk --azure-container-storage-nodepools internalWait for the installation to complete. This might take a few minutes.
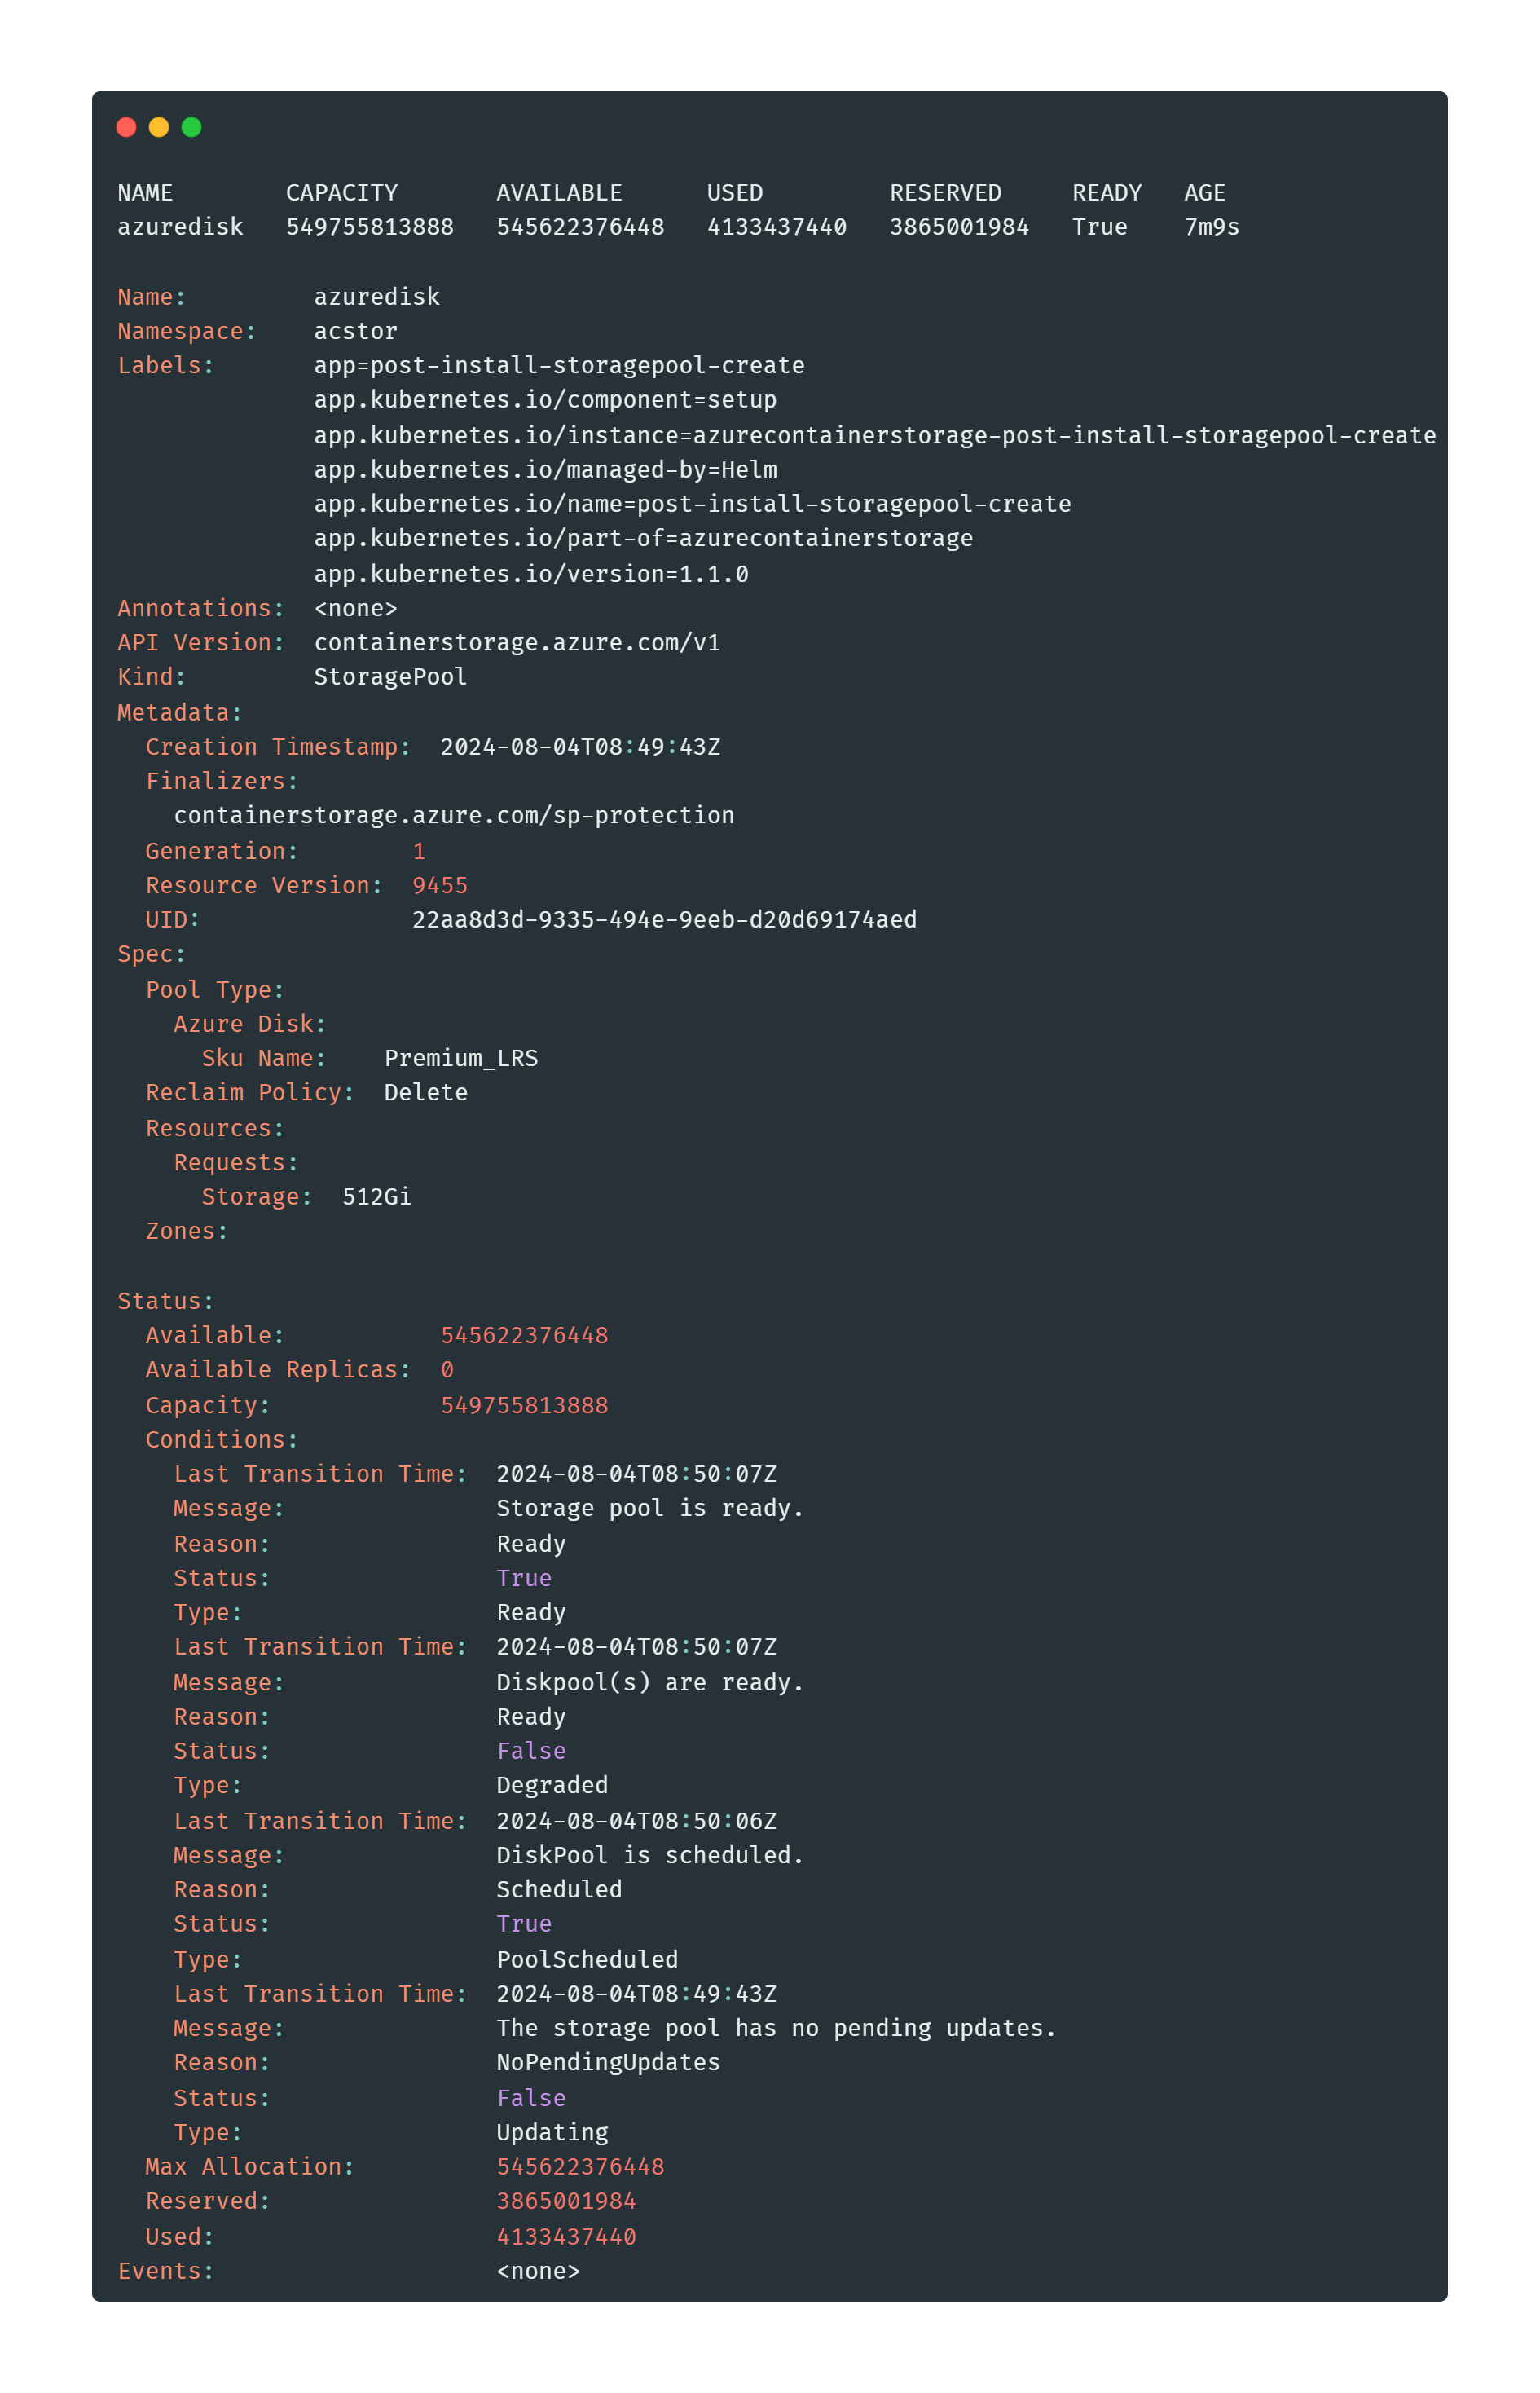
Step 8: Verify the installation of Azure Container Storage by using the commands below.
kubectl get sp -n acstor
kubectl describe sp <storage-pool-name> -n acstor
The output should look something like the image below:

And that’s it! You’ve now successfully set up Azure Container Storage on your AKS cluster. You can now leverage the storage options provided by Azure Container Storage to support your containerized applications.
Clean up your resources (optional)
Once you’re done experimenting, you might want to consider to clean up your resources afterwards and avoid additional charges. Cleaning up your Azure resources is as easy as running the terraform destroy command in your terminal, if you’ve provisioned your resource group and AKS cluster using Terraform. Make sure you have cd’d back into the folder where you’ve placed your Terraform configuration-files. If you haven’t created the resources with Terraform, you can delete the resources and resource group through the Azure portal, or using Azure CLI.
Closing words
You’ve now familiarized yourself with using Azure Container Storage for managing stateful workloads in a Kubernetes environment. Its seamless integration with Azure Kubernetes Service (AKS) and Kubernetes APIs simplifies storage management, enabling developers to focus more on building applications rather than dealing with the underlying infrastructure. The real advantages lie in the advanced features like snapshots, autoscaling, and multi-zone storage pools. These features further enhance the service’s capability to handle diverse storage needs efficiently.
To learn more about and to continue your journey with Azure Container Storage, you can start with reading some of the resources below:
Thank you for taking the time to go through this post and making it to the end. Stay tuned, because we’ll keep continuing providing more content on topics like this in the future.
Author: Rolf Schutten
Posted on: August 4, 2024